Reading time: 3 Min
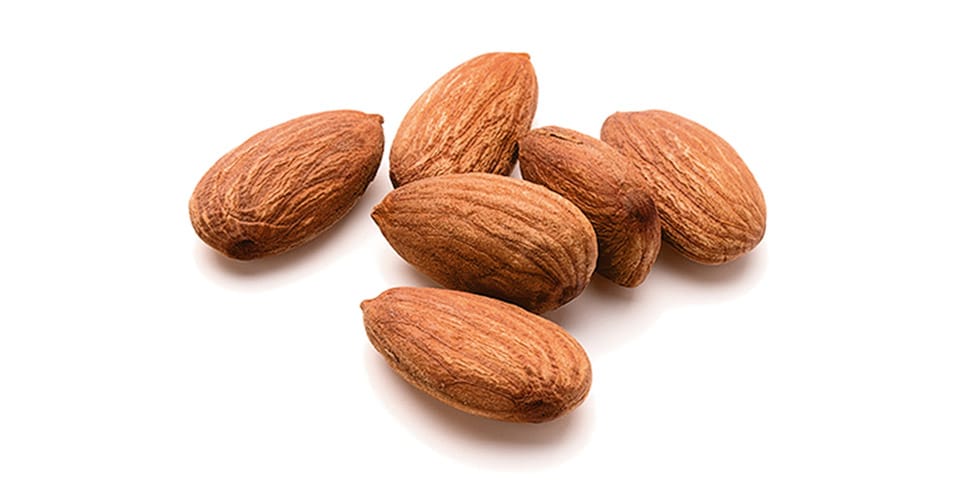
How to make almond milk and other nut milks yourself
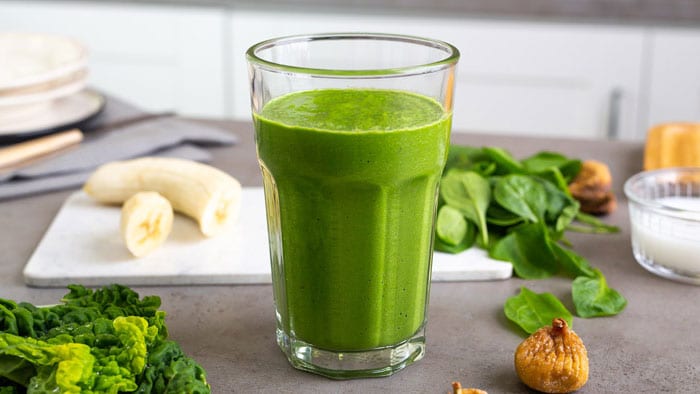
With just three ingredients and a straightforward method, it’s so easy to learn how to make nut milk – once you know how. And that’s where we come in. Read on for a simple almond milk recipe and our step-by-step guide to make your own homemade nut milk with ease.
Why is making nut milk a good idea?
Using our almond milk recipe to whip up your own nut milk is not only uncomplicated, it’s also good for you, and, when you make nut milk yourself, you can control what goes into it. Nut milks have some great benefits for your health – here are a few reasons why it’s good to drink nut milks:
How to make almond milk and other nut milks: what you need
All you need for making nut milk are nuts, water, a blender, salt, and a little bit of time. Read on for our nut milk recipe with nine steps to create nut milk at home.
You will need:
If you don’t already have one, it’s worth taking some time to find the right blender for making nut milk.
What you need
-
Avance Collection Blender High speed, ProBlend Tech. 1400 W
HR3655/01
- 1400 W
- ProBlend 6 3D
- 1. l glass jar
- 2 tumbler jars
- £119.99*
-
3000 Series Blender ProBlend Crush Tech. 600 W 2 L
HR2291/01
- ProBlend system
- 2 L Maximum Capacity
- 1.25 L Effective Capacity
- 2 Speed settings and pulse
- Glass Jar


How to make nut milk: step-by-step instructions
The method for how to make almond milk is the same as for other nut milks, so you can use this tutorial as the basis for a variety of delicious homemade nut milks.
With that simple nut milk recipe you are ready to go. Plus, it doesn’t only work with almonds. All you need to do is try the same method with your favourite nuts, from hazelnuts to cashew nuts and even macadamia nuts. Enjoy!
Source(s):
1 NCBI: Nutritional Comparison of Nut Milks and Dairy Milk