0

Shopping cart

There are currently no items in your shopping cart.

    Philips Support

    How to update the software of Philips TV via USB?

    Published on 2021-06-20

    Situation

    A software update is useful:
    • when problems occur on the television
    • to get the latest features

    Answer

    To update the software on the TV, follow these steps:

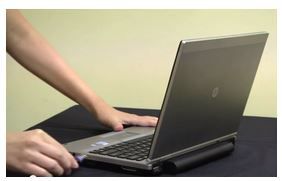
    1. Insert an empty USB flash drive into a computer

    • Format the USB flash drive to FAT32 (right mouse click >“Format”)

    • Note that Android software updates can be around 1GB, ensure you have a USB flash drive that has enough free space for you to save the software on
    2. Open a web browser

    Go to the Philips website and navigate to your product's support page (e.g. while reading this FAQ article, click on 'Support' on the navigation panel above).

    Note Make sure that you have selected to correct model of the TV set.

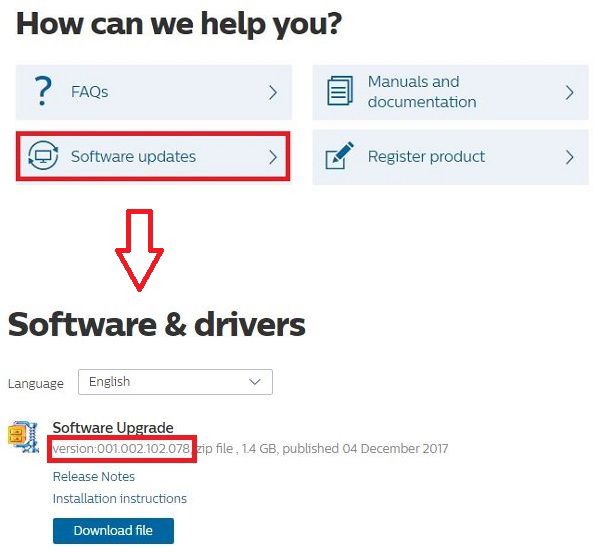
    3. Check the software on the web page

    • Select the option “Software updates” in the page.
    • The dedicated software for this TV model will appear, showing the version number
    4. Check the current software version on the TV

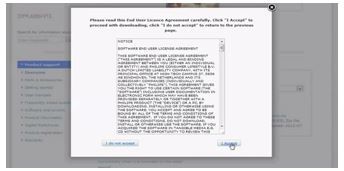
    Only update the software if the version mentioned on the website is higher than the software version installed on the TV. Click the file, accept the terms of use and save the file xx_xx.zip on the computer
    5.”Unzip” To USB

    For example: right-click on ‘xx_xx.zip’ and select ‘extract to’. It will ask where to save, select the USB flash drive.

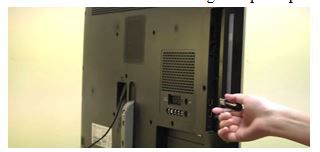
    6. Plug the USB into the television when the TV is ON

    Do not switch off the TV during the update procedure!
    9. Wait 5 - 15 minutes

    • The screen will turn black for 5 to 10 seconds while the TV closes all apps.
    • The software will now be updated. A message is shown “Installing system update” and a progress bar shows the status of the software update.
    • The update will take 5 to 15 minutes, depending on the size of the update file.
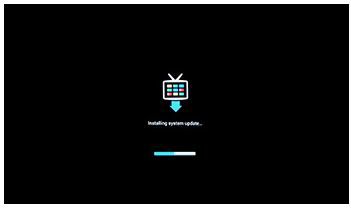
     

    • When the update is completed, the screen will go black for 3-5 seconds.
    • The Philips logo will show
    • After the TV is fully loaded, switch the TV OFF and ON again

    The information on this page applies to the following models: 65PUS8204/12 , 50PUS8204/12 , 55PUS8204/12 , 55OLED934/12 , 65OLED984/12 , 65OLED934/12 , 65OLED854/12 , 55OLED854/12 , 65OLED804/12 , 55OLED804/12 , 58PUS7304/12 , 70PUS7304/12 , 75PUS7354/12 , 50PUS7334/12 , 65PUS7354/12 , 65PUS7304/12 , 50PUS7394/12 , 43PUS7394/12 , 50PUS7354/12 , 50PUS7304/12 , 55PUS7394/12 , 50PUS8804/12 , 50PUS7504/12 , 43PUS7354/12 , 55PUS8804/12 , 55PUS7504/12 , 55PUS7334/12 , 43PUS7334/12 , 55PUS7354/12 , 43PUS7304/12 , 55PUS7304/12 , 55PUS9104/12 , 65OLED803/12 , 55OLED803/12 , 65OLED873/12 , 65OLED973/12 , 65PUS7803/12 , 65PUS8503/12 , 65PUS8303/12 , 75PUS8303/12 , 49PUS7803/12 , 49PUS8303/12 , 75PUS7803/12 , 55PUS7803/12 , 49PUS8503/12 , 55PUS8303/12 , 55PUS8503/12 , 65PUS7303/12 , 49PUS7503/12 , 55PUS7503/12 , 50PUS7303/12 , 50PUS7383/12 , 50PUS7373/12 , 43PUS7303/12 , 55PUS7383/12 , 55PUS7373/12 , 55PUS7303/12 , 43PUS7383/12 , 43PUS7373/12 , 55POS901F/12 , 65PUS7601/12 , 40PFS5501/12 , 32PFS5501/12 , 65PUS6521/12 , 43PUS6401/12 , 49PUS6401/12 , 43PUS6501/12 , 55PUS7181/12 , 55PUS6401/12 , 49PUS7181/12 , 49PUS6551/12 , 49PUS6561/12 , 32PFS6401/12 , 55PUS7101/12 , 55PUS6561/12 , 55PUS6551/12 , 49PUS7101/12 , 55PUS8601/12 , 32PFT6500/12 , 32PFT5500/12 , 48PFT5500/12 , 40PFT6510/12 , 55PUT6400/12 , 50PUT6400/12 , 50PFT6550/12 , 50PFT6510/12 , 40PUT6400/12 . Click here to show more product numbers Click here to show less product numbers

    Contacting Philips

    We are happy to help you

    Contacting Philips

    We are happy to help you

    Looking for something else?

    Discover all Philips Support options

    Our site can best be viewed with the latest version of Microsoft Edge, Google Chrome or Firefox.